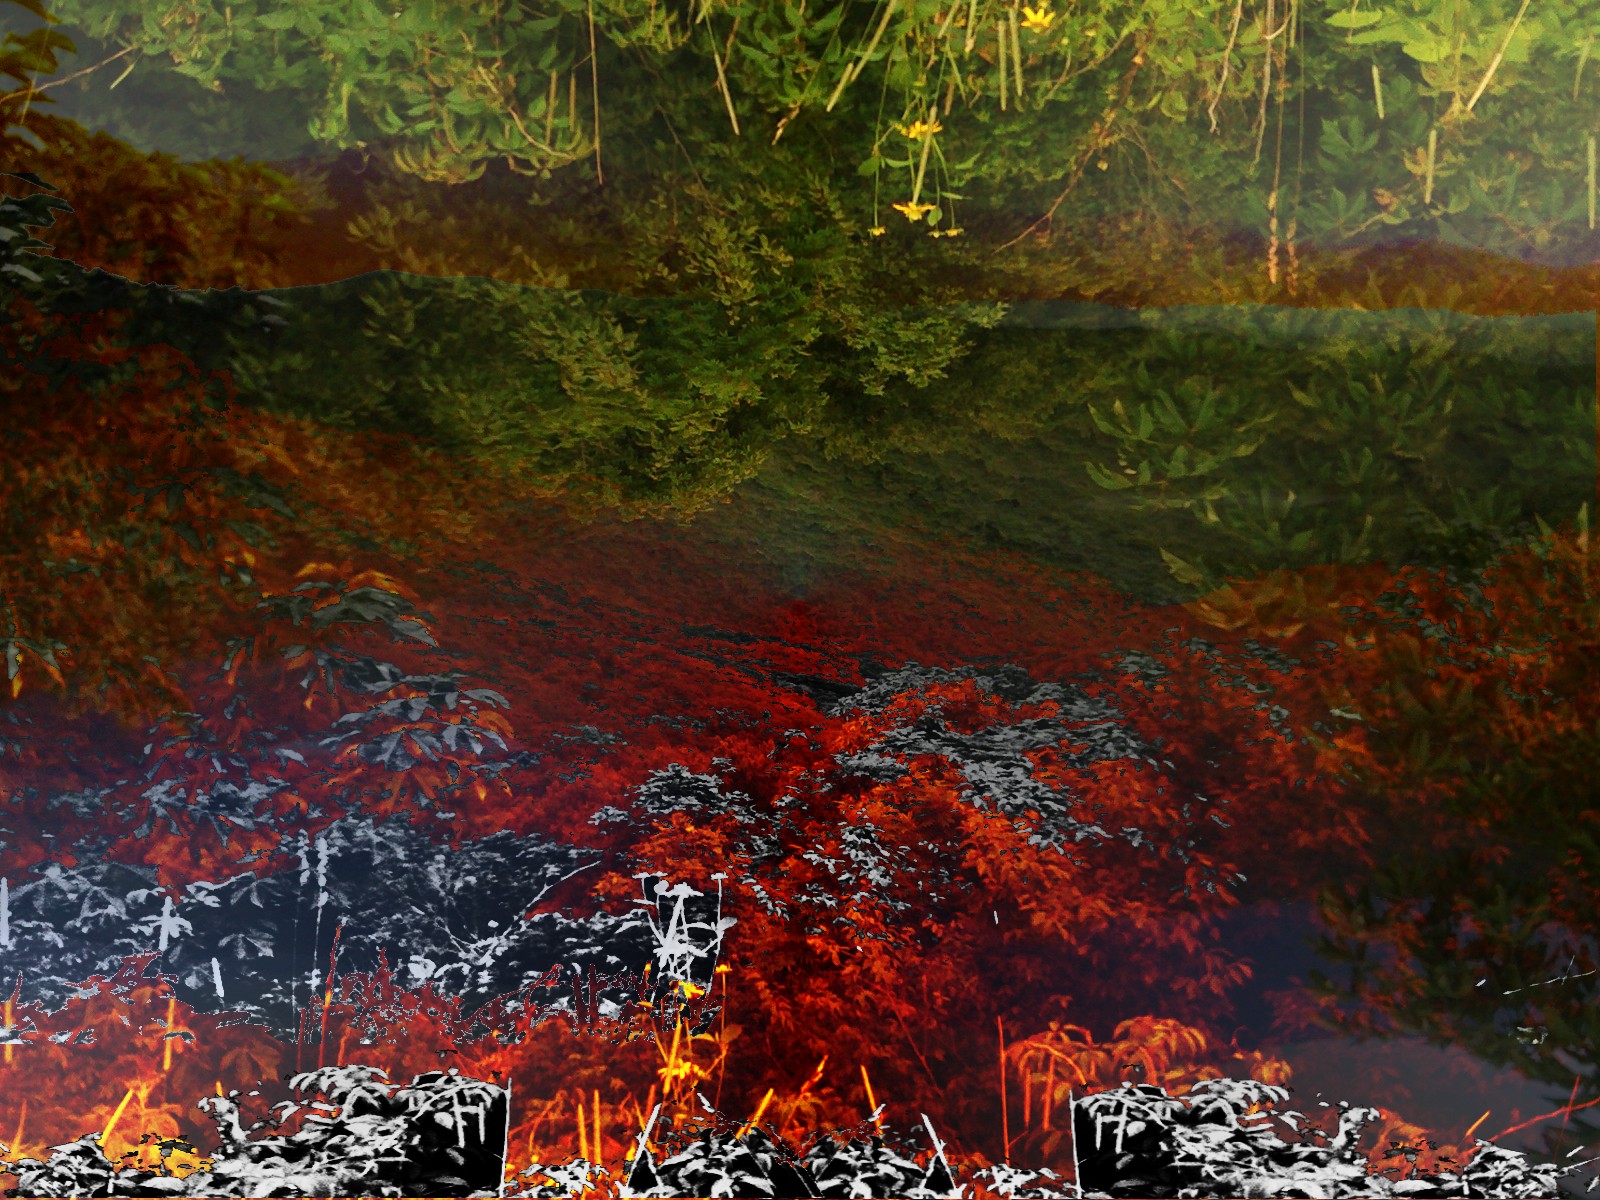
This piece began with a photograph I took on an iPhone while on vacation in North Carolina. This is a view from lower Mount Mitchell.

My first impulse was to to add a little contrasting color...

Then I wanted to add some real contrast to the foliage...

Then I wanted to hide the landscape, so to speak...


Then I wanted to hide the landscape, so to speak...

What is that? Does it look familiar?


(If not look up.) Of course there's a little transparency thrown in.
Next came...
With a couple of these added...

What are those? Where did they come from??? Look close.

Do you see it? Hope you like the arrow, I tried to make it interesting.
So what did I do next? Well it gets a bit complex...
First I rotated the image 180 degrees. I brought out some of the darker tones by putting this layer beneath the green layer...

And then I put a blue-er layer on top of all of that (except the grassy layer on the edge shown in parts above- I kept that layer separate and kept it floating on top). Here's the blue-er layer...

And then I added...
They should look familiar; they are the same black and white grass shapes with the color adjusted in the maroon direction.
All of that went together to create...

Next I rotated the image 90 degrees to the right and overlaid this layer over it (semi-transparent)...

To get...

Now that's starting to look pretty interesting now. What next? Just adjusting the dimensions.... getting ready for some fun...

Well here's were I really got into it and forgot to save the layers for a bit... I apologize. But eventually I ended up with this...

Multiple layers are involved. I took a moment to try and recreate it... but I can't remember and if I get to into figuring it out I'll end up not finishing this post... so....
Then I enhanced some of the neater parts...

Then I cropped it... the foliage at the bottom is very interesting, but way to frame-ey. So it had to be gone...
When I saved the cropped image I managed to uncover some shreds of the layers used to create the previous image. Here they are from bottom to top...


So all of that put together make...

Then I added...

To make...

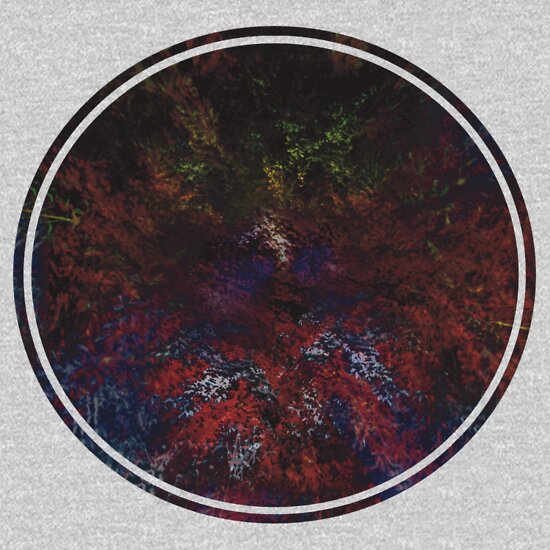
From that it was just a couple steps to get to the final product...


Available in prints...

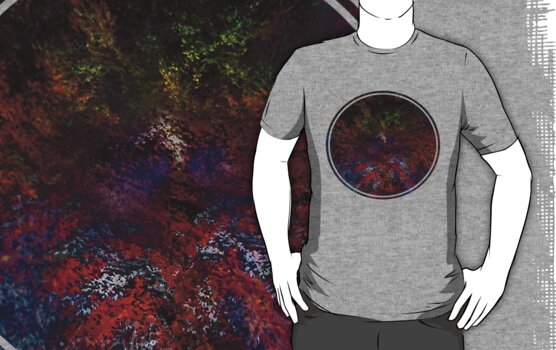
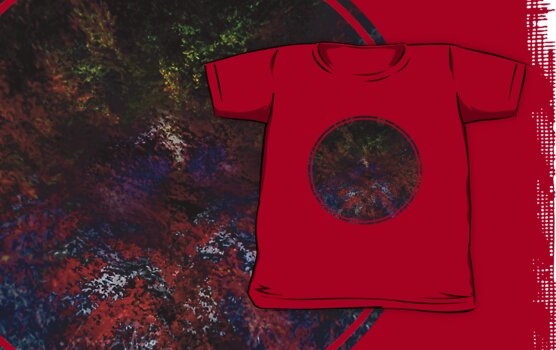
Clothing...
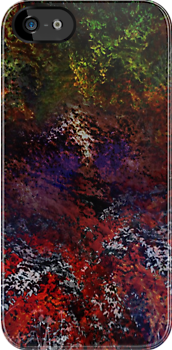
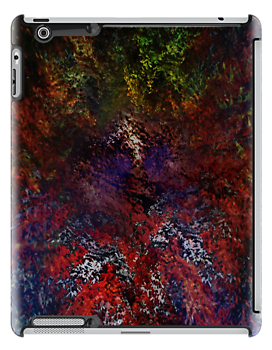
Available in iPod, iPhone, and iPad cases...
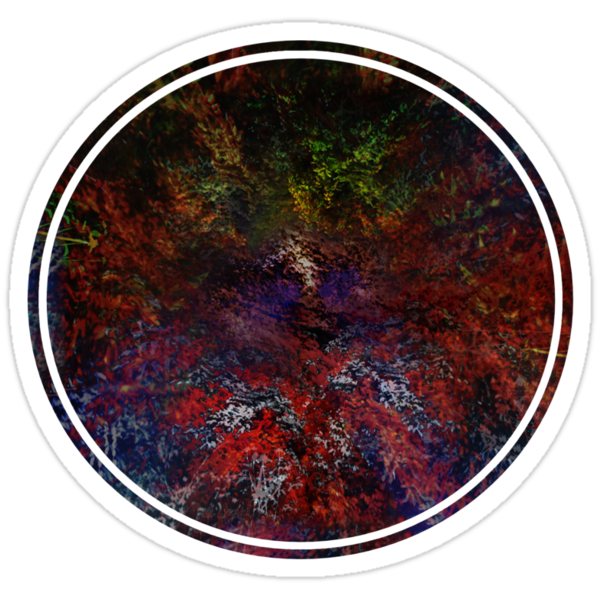
And don't forget stickers!!!
No comments:
Post a Comment